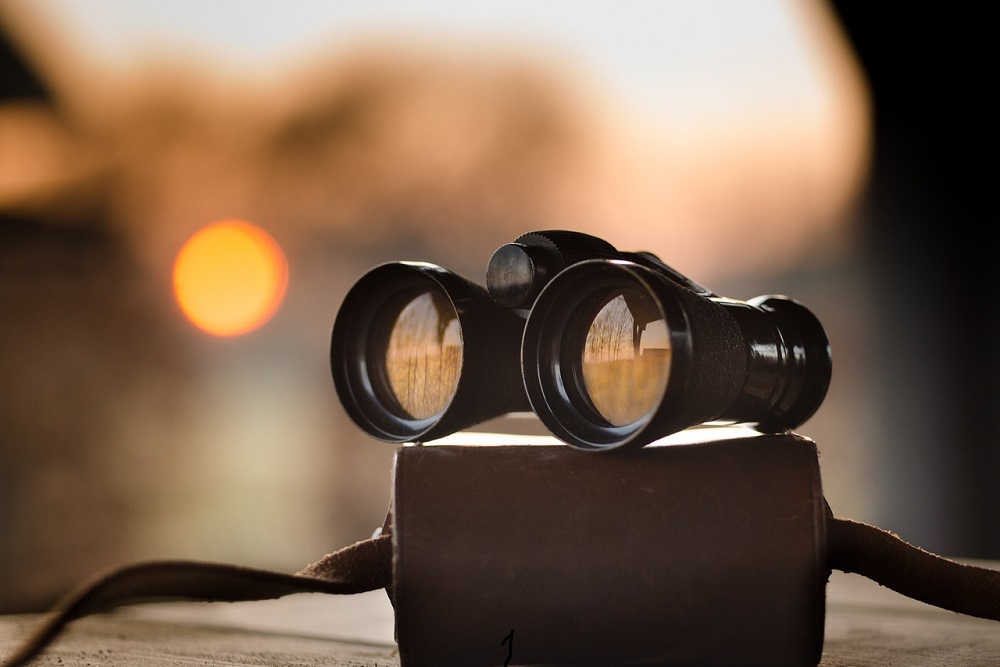
How To Fix Binoculars With Double Vision?
If you look through your binoculars and see two of the same object, it’s likely that the two optical tubes of your binoculars are out of alignment.
The prisms within the two tubes may have shifted, causing the two tubes to focus light differently. Images from each tube don’t merge, causing you to see double. So how to fix binoculars with double vision?
What Causes Double Vision?
In many cases, double vision in binoculars is caused by impact. You may have dropped the binoculars or hit them hard against something.
If you travel a lot with your binoculars, the constant movement and vibrations can also mis-align the internal lenses. This is especially the case if you don’t store your binoculars in a protective case.
Sometimes, double vision in binoculars develops slowly over time through constant use and normal wear and tear. Even with good care, prisms may slowly shift out of place.
Can Your Collimate Binoculars At Home?

A proper full collimation of binoculars is impossible to do at home. It requires a lot of skill and highly specialised equipment.
If you notice that your new under-warranty binoculars have double vision, do not attempt to repair it yourself as that could void the warranty. Instead, send the binoculars to the manufacturer for repair or replacement.
If your binoculars are out of warranty, the manufacturer may be willing to repair them for a small fee.
Another option for an out of warranty pair of binoculars is to send them to a repair specialist. But this can be expensive. For a cheap pair of binoculars, it may make more sense to buy new ones.
Or you could try repairing them yourself.
Aligning binoculars yourself is a tedious job and could take an hour or more, but it’s fairly straightforward and it fixes the double vision problem.
How to Align Binoculars With Double Vision
What we’ll be doing is not proper collimation. As I’ve mentioned, that’s impossible to do at home.
Instead, we’ll be attempting to align the two tubes of the binoculars such that you get a perfectly merged image.
A word of warning: it’s inevitable that, by adjusting the prisms inside the tube, you’ll mess a little with the manufacturer-set collimation.
This may slightly degrade image quality. But that’s better than seeing double. If you are okay with that, let’s get started.
Confirming that the Binoculars are Out of Alignment
The first step is to make sure that your binoculars are actually out of alignment. You don’t want to mess with the lenses for no reason.
Go outside on a clear night to pick a bright star like Polaris. Defocus one side using the diopter such that the image of the star appears blurred.
If the image of the sharp star is right at the center of your defocused image, your binoculars are okay and do not need to be aligned. But if the sharp star is off-center the defocused star, go ahead with the alignment.
Aligning the Binoculars
The first step is to locate the adjustment screws. These are typically hidden to keep users from messing with collimation, even if it’s accidentally.
You may need to peel back the exterior adhesive on the binoculars or dig out any rubber or glue that’s hiding the screws.
There are four screws in total. You’ll need a small flathead screwdriver like those used for jewellery. You’ll also need a tripod to mount your binoculars to ensure they stay steady.
This is where the tedious bit begins.
All these screws move the prisms in different ways. You’ll need to figure out how each screw affects the image and then adjust them multiple times until you get a single merged image.
If you need a detailed explanation of how each screw moves the lenses, here’s an explainer video.
But you can just go ahead and play around with the screws. Just make sure you only turn them only one eighth of a turn at a time.
Starting with the first screw, turn it ⅛ of a turn while looking at a bright star. Note what it does to the double image. Turn it back to where it was and see where the image moves.
Repeat for all screws. Once you know what each screw does, you can now adjust them until the two objects merge into one.
To reduce how much you mess the manufacturer’s collimation, correct the double vision half on one optical tube and half the other.
Confirming Alignment
Once the two objects merge, you’ll need to confirm that you’ve actually eliminated double vision. Our eyes tend to trick us. When the two objects are super close to each other, but not yet fully merged, your eyes can present them as one merged image.
Repeat the defocusing step I described above, and see if the sharp star is right in the middle of the blurred image. If it is, great job, you’ve aligned your binoculars.
If not, keep adjusting the screws until you get perfect alignment.
Try observing other objects in the night sky and on earth during the day to make sure your binoculars are working properly.
Another trick to test if your binoculars are aligned is to close your eyes for 10 seconds, then open them quickly and look at a bright star. If you see a single image, your binoculars are good.
But if you see a double image for a split second before your eyes have time to trick you, keep adjusting.
How to Adjust Your Binoculars?
To make sure your binoculars are as good as new, do a final adjustment to align their focusing with your eyes.
This one is easy and you can do it during the day.
Pick a stationary object about 15m away such as a tree branch or a street light. Put the binoculars on your eyes and cover the right objective lens with your hand (if your binoculars have a diopter adjustment ring on the left tube, cover that side instead).
Looking out with just your left eye, use the central focusing ring to bring the object into sharp focus.
Looking at the same object, uncover the right lens and cover the left one that you’ve just focused. Looking out with just your right eye, turn the diopter ring until the same object is in sharp focus.
Now, when you look out with both eyes, you should get a sharp image. Going onwards, only use the central focusing ring to adjust the focus of your binoculars.


