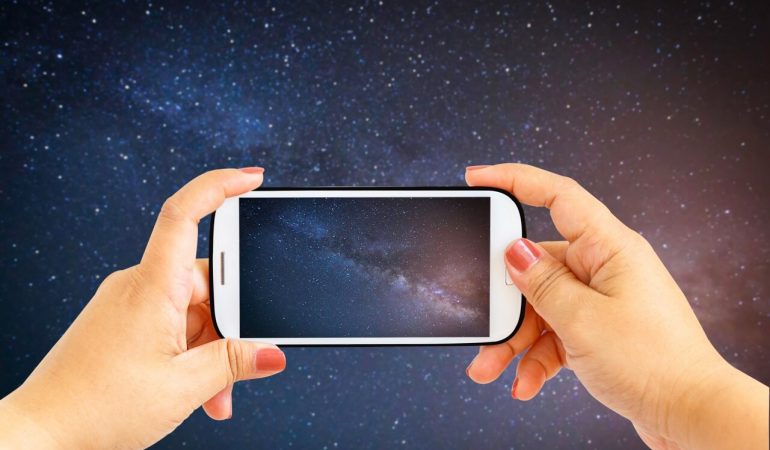
How To Take Pictures Through A Telescope With An iPhone?
Smartphone cameras have gotten sophisticated with every new iPhone or Samsung Galaxy release each year.
iPhone cameras, in particular, can now take impressive photos. So much so that they are good enough for beginner astrophotographers.
Ideally, you want a capable DSLR to take shots of planets, the moon, and galaxies. You can use it on its own or attach it to your telescope.
But not everyone is ready to make that kind of investment on a pricey Canon camera. A smartphone is a great place to start, and you can get some awesome photos off your telescope eyepiece.
How to Take iPhone Pictures With a Telescope
You could just take your phone and place the camera directly onto the eyepiece. An image of whatever the telescope is pointing to will show up on your phone’s screen when you fire up the camera.
But, as you’ll quickly discover, this is a tedious and terrible way to do iPhone astrophotography. Your hands are not nearly steady enough to keep the iPhone camera and telescope eyepiece aligned.
This results in unfocused images, and shadows on the edges of the photo.
Videos will be worse.
A better way to take pictures through a telescope with an iPhone is to attach the iPhone to the telescope eyepiece.
You’ll need a smartphone adapter or mount such as the Celestron NexYZ or the Orion SteadyPix Pro.
Some of these adapters are made to fit over a wide range of optical equipment including telescopes, binoculars, monoculars, and even microscopes.
An adapter ensures that once you align the iPhone camera with the telescope eyepiece, it stays aligned.
It also leaves your hands free to adjust camera settings and control the telescope.
How To Attach An iPhone To A Telescope?
Though there are several different types and designs of smartphone adapters, they all work the same way.
You attach your iPhone to the mount or adapter, then clip the adapter onto your eyepiece.
Next, adjust the position of your iPhone until the camera is pointing directly at the center of the eyepiece. Open your iPhone’s camera app so that you can see in real time the image from your telescope.
You’ll know the phone and eyepiece are perfectly aligned when you get a perfectly balanced image on your iPhone’s screen.
Lock down the adapter to make sure the phone doesn’t move.
Orion has a great video with a step by step guide on how to use their Orion SteadyPix and SteadyPix Pro smartphone telescope mounts.
Once your smartphone is attached and ready to shoot away, the next step is to align the telescope. Most telescopes have a finder scope to help with this.
Which Are The Best iPhone Camera Settings For Astrophotography?
Now comes the big moment – taking pictures of the night sky.
Assuming you’ve done your preparation and know what you are planning to observe, all you need to do is swing your telescope to the right location in the sky and find the right object.
Use your iPhone’s screen to center the object perfectly in the eyepiece. You may need to use the finderscope to properly focus on the object.
Note that the main limiting factor in regards to what you can photograph is your telescope, not your iPhone.
If your telescope and eyepiece are suited to viewing planets and the moon, that’s what your iPhone will photograph best. If your telescope can reach deep sky objects, your iPhone will capture those images as well.
In other words, your iPhone’s camera will only capture what your telescope sees.
You should see the object your telescope is pointing at on your phone’s screen. Tap on the object to tell your camera to focus on it.
The camera should automatically balance exposure to highlight the object and ignore the dark sky around it.
If you want a closeup view of the object, use your camera’s optical zoom. For instance, the iPhone 12 has 2X optical zoom and the new iPhone 13 Pro has 3X optical zoom. To maintain image quality, do not use digital zoom.
Once you are happy with the image, tap the shutter button to take a picture.
You can also tinker with the advanced exposure and focus camera settings to improve picture quality. For example, you can set a longer exposure time (make sure your telescope is on a tripod) to capture galaxies and nebulae.
If the primary iPhone camera app is too limiting for you, there are several third party iPhone camera apps that give you finer control.
Can You Take an iPhone Video With a Telescope?
Yes, you definitely can.
Follow the same process as above. Once your telescope is centered on the object and you’ve set your preferred camera settings, start taking a video.
Taking an iPhone video through your telescope is a bit tricky because objects don’t stay stationary in the night sky. Some of them, like planets and the moon, are moving. The earth is also moving.
This is not a problem for a short video. It’s actually fun to show your friends how the moon moves across your phone’s screen.
But if you want to stay locked on the object as it moves, you’ll need to slowly move your telescope as well.
A basic alt-azimuth mount for your telescope is good enough for tracking objects. Just be careful not to move the telescope too much as it could affect video quality.
But the best way to track an object is using an electronic go-to equatorial mount. It can automatically track an object as it moves across the night sky.
Can I Take iPhone Pictures Without A Telescope?
You can still take some great photos of the night sky with just your iPhone. It won’t be as good as a telescope, but it’s good enough for the moon, stars and even the Milky Way galaxy.
There are two things you’ll need to do to get awesome photos.
One, download a third party camera app. We recommend apps that are designed specifically for astrophotography. This allows you finer control over your iPhone camera.
Two, use a tripod to keep your iPhone still. Since you’ll be using long exposures, any vibrations will mess up your photos.

